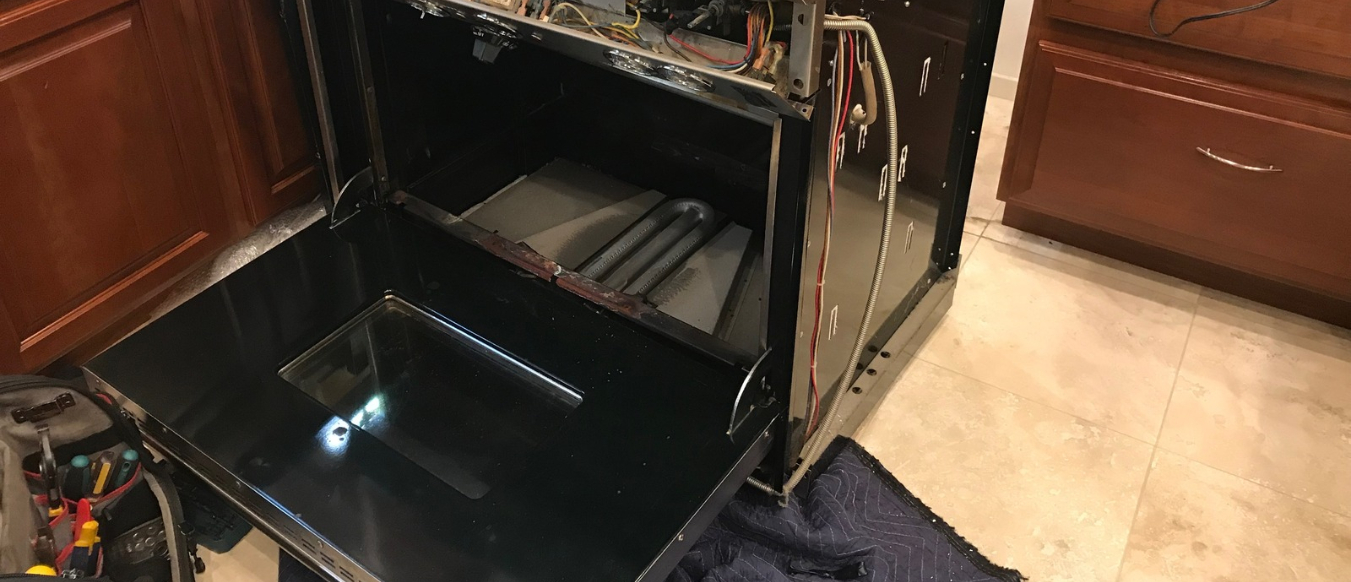
A kitchen oven is one of the most commonly used kitchen appliances. From baking cakes to roasting vegetables, the oven is used in cooking most kinds of foods. This equipment usually gets dirty after a number of uses. Regular cooking may lead to food boils, grease, burnt buns, and odors inside the oven.
For residents of Walnut Creek, cleaning the oven surfaces is an effective way to keep their kitchen clean as well as to care about a useful device. The oven can be kept clean without using expensive chemicals and horrible methods of cleaning. A few easy habits and efficient cleaning equipment can make the process easier.
If you are interested in tips for cleaning the ovens properly, here are some useful suggestions for you.
1. Removing Loose Food Particles Prior To Cleaning
Prior to applying any cleaning products, you need to first remove all the loose food particles from within the oven. Small chunks of food, burnt particles, and even left-over ingredients tend to accumulate on the bottom of the appliance after each usage. If not removed, they will burn again in the next cycle of your cooking.
Ensure that the oven is completely cool before you begin cleaning. Open the oven door and clean out the loose dirt using a brush, dry cloth, or a handheld vacuum with an appropriate attachment. Remember to pay special attention to corners and spaces near the bottom of the oven.
Removal of loose dirt will make your work easier. Moreover, this step will help prevent spreading of crumbs while cleaning the oven.
2. Use Baking Soda to Clean Grease
This common home substance can assist you in getting rid of grease as well as food residue from your oven. It is helpful in removing spots which have accumulated on the surface as a result of oil or food residue due to frequent cooking in the oven.
A cleaning solution can be made from a mixture of half a cup of baking soda and a few tablespoons of water. Water needs to be added gradually in order to form a paste. Apply the paste to the greasy spots in the oven while making sure to avoid the heating elements and fans among other components of the appliance which should not be exposed to moisture.
3. Clean the Oven Racks Separately
The racks in the oven have grease buildup and food spills as well as burn stains. They are utilized for holding baking trays and cooking plates. Therefore, it is very essential to ensure they remain in good condition throughout.
First, start by taking out the racks from the oven when the latter is already cool. Immerse them into some warm water and add some dish soap in the water. Allow them to stay submerged in the water for about half an hour in order to make it easier for grease and food spills to be removed.
Once this period expires, scrub the racks using a gentle non-scratching sponge or brush. Scrub especially those sections that have been covered by grease and food debris. Rinse them with clean water until they are dry before putting them back into the oven.
In case the racks have a protective coat on them, then it is advisable to refer to the user manual to get instructions on how to clean them.
4. Clean the Oven Door Glass Carefully
It can also become cloudy due to grease splashing, finger prints, and the food cooking within it. The dirty glass will affect the monitoring of the food while it is cooking.
To clean the oven door daily, you need to use a microfiber cloth together with warm water and some dish soap. You should gently wipe the outer and inner glass and then rinse it with a cloth that is dampened in clean water.
You can use a proper glass cleaner for any tough stains. But you should be careful with using hard scrub brushes and other metal materials that could scratch the glass.
There are cases where the oven door consists of several glass pieces. And there is always the possibility of collecting particles of food between these pieces. So you should refer to the manual on how to handle this situation.
5. Use Vinegar to Remove Cleaning Residue and Odours
Another home-based cleaning product, vinegar, is helpful for basic cleaning purposes and unpleasant odors. This is beneficial after using the cleaning powder or after cleaning accidental spills.
Prepare an equal solution of water and white vinegar in a spray bottle. Spritz the solution lightly on suitable inner surfaces of the cooled oven. Allow it to rest momentarily before cleaning with a soft and damp cloth.
If you wish to clean grease spots from the oven door and other outer surfaces, use a small amount of the solution. Nevertheless, do not apply vinegar to areas which may react with acidic substances, according to the manufacturer.
Additionally, you should be careful about mixing vinegar with other oven cleaners, bleach, or other chemical solutions. Use one cleaning solution at a time and clean up any residue before changing the solution.
6. Keep the Oven Floor Free from Food Spills
Spilled food inside the floor of the oven might become stubborn if it gets baked many times. This includes sauces that contain sugar, cheese, oils, and even food debris.
One easy way of preventing this from happening is to make sure the oven floor is always inspected right after cooking. Remove all loose crumbs once the device has cooled down and clean any spilled food with a wet cloth.
In case of stubborn stains, use the appropriate cleaning agent as stated in the manual and let it work for some time. It is not recommended to scrape any stains with knives or metal instruments as this can scratch the inner coating of the device.
It is not recommended to put aluminium foil on the floor of the oven as well.
7. Use the Self-Cleaning Feature with Care
Most modern ovens have an auto-clean function, which makes it possible to operate at extreme temperatures. Some manufacturers may state that a person must operate the cleaning process according to their instructions in order to benefit from the function as intended.
It is very important to check that all oven racks, baking trays and other necessary accessories are removed before the start of the cleaning cycle, unless the instruction of the manufacturer states otherwise. Remove all grease from the appliance and open the window to provide fresh air circulation.
Make sure that children and pets are not in the area while the oven is functioning. The oven door might lock during the cleaning process and become very hot so it would be dangerous to intervene in the cleaning process.
Once the device cools down and the door is opened, it is time to wipe the remnants with a damp cloth.
8. Follow a Regular Oven Cleaning Schedule
Cleaning your oven now is much simpler than cleaning it after accumulation of greasy and charred deposits. An easy way to clean can assist Walnut Creek residents maintain their kitchen appliances.
Once you are done cooking, clean the newly formed deposits as soon as the oven cools down. Lightly clean the oven door and interior as well as needed. Deep cleaning should be conducted periodically based on your frequency of cooking.
Here is a simple oven cleaning schedule you can follow:
| Cleaning Task | Suggested Frequency |
|---|---|
| Remove loose crumbs | After cooking when needed |
| Wipe fresh food spills | As soon as the oven cools |
| Clean oven door glass | Every 1–2 weeks |
| Clean oven racks | Every 1–2 months |
| Deep clean oven interior | Every 2–3 months or as needed |
| Check oven seals and door | Regularly |
Depending on various cooking habits and type of oven in use, the schedule might change. The families that cook quite regularly may require more frequent oven cleaning schedules.
Common Oven Cleaning Methods at a Glance
Choosing the right cleaning method depends on the type of dirt and the oven surface. The following table gives a quick overview of some common options.
| Cleaning Method | Best Used For | Important Consideration |
|---|---|---|
| Baking soda paste | Grease and dried food stains | Check surface compatibility |
| Warm soapy water | Light dirt and oven racks | Dry racks before reinstalling |
| Diluted white vinegar | Light residue and odours | Avoid sensitive surfaces |
| Microfiber cloth | Everyday wiping | Use a clean, soft cloth |
| Manufacturer-approved cleaner | Stubborn oven stains | Follow product instructions |
| Self-cleaning cycle | Built-up interior residue | Follow the oven manual |
These methods can help with regular oven care, but always choose products that are suitable for your appliance.
Conclusion
Taking care of your oven should not pose any challenge when it comes to home chores. Things such as clearing food particles, using proper cleaners to clean up the grease, cleaning the glass of the oven, and taking care of the racks could work to your advantage. Cleaning on a regular basis prevents any tough stains or bad smell inside the oven.
When it comes to your kitchen appliances, taking care of the oven is an important step. If your oven is not heating properly or has a problem with the door or bad smell after cleaning, the situation may need some professional intervention.
Zuta Appliance Repair offers appliance repair services to the residents of Walnut Creek and nearby areas. You could learn more about its home appliance repair services.
Need Professional Oven Repair Assistance in Walnut Creek?
In case you find your oven failing to function properly even after regular cleaning, reach out to Zuta Appliance for help. Their professionals will fix your oven’s problems relating to temperature, controls, doors, and more. Call Zuta Appliance at (415) 592-4633 today for any issues concerning your oven repair.